Kian J recounts a recent simulated phishing engagement delivered to a major financial organisation
We recently completed a project for a major financial organisation which saw us deliver a red team engagement covering three scenarios. The first involved a simulated phishing attack and we thought it worth sharing the procedures used by our consultants to gain complete, persistent, unauthorised access to the company’s internal network.
Before we embarked upon the exercise, we needed to assess the requirements of the phishing campaign and pick a campaign profile that was a best fit for the use case. Examples of possible attacks included:
- Email Phishing
- URL/HTTPs Phishing
- Spear Phishing
- Whale Phishing
- Vishing
- Smishing
- Angler Phishing
- Pharming
- Clone Phishing
Note: this is not a complete list of attacks, but only a handful that would be considered in a remote phishing engagement.
Due to the engagement requirements, we had decided that the best approach would be a multi-pronged campaign, consisting of vishing, email phishing and URL phishing.
Initially, we used email, however, it quickly became apparent that users had been trained in this area, resulting in burnt accounts which we were able to diagnose due to a high bounce back rate on our emails. Despite running the assault over a couple of days with various attack vectors, it all led to the same result – with our account or domain being blacklisted.
At this stage the natural conclusion would have been to assume that the staff had received adequate training in phishing engagements. However, we decided to give it one last shot using a vishing campaign conducted using URL phishing.
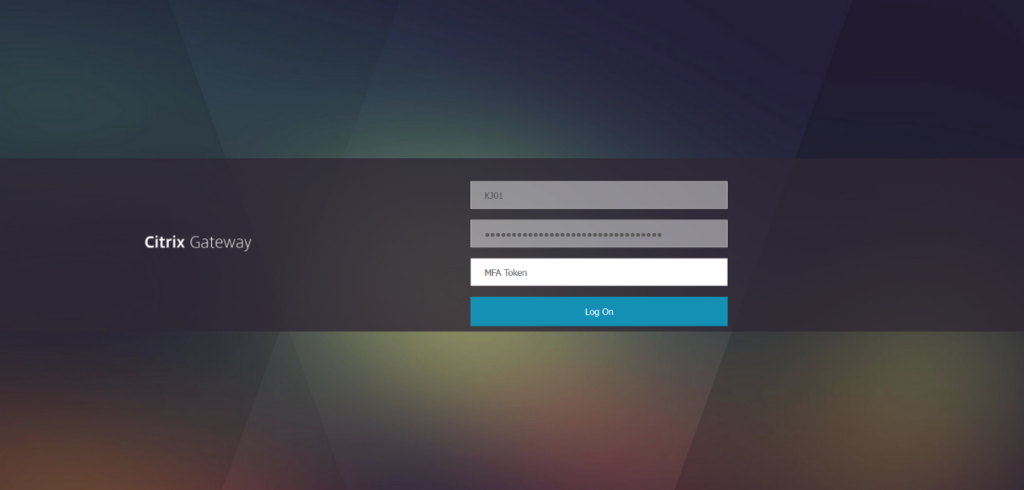
We continued with our OSINT efforts, specifically scraping phone numbers from various sites such as rocketreach.io and lusha.com to put together a new target list. Ideally, we wanted this new list to consist of higher value targets such as developers or technical leadership roles. The purpose of this was that once we landed in the environment, we would hopefully have more privileges enabling us to escalate access. This resulted in a target list consisting of 31 phone numbers.The next step we needed to take was to get the staff to either visit a malicious site or to give us their username, password, and MFA token over the phone. We figured the first solution would have a better outcome (this is where the URL phishing comes into play). So, we went through the endpoints we had access to and decided that we would clone a Citrix site, and had created the following page:
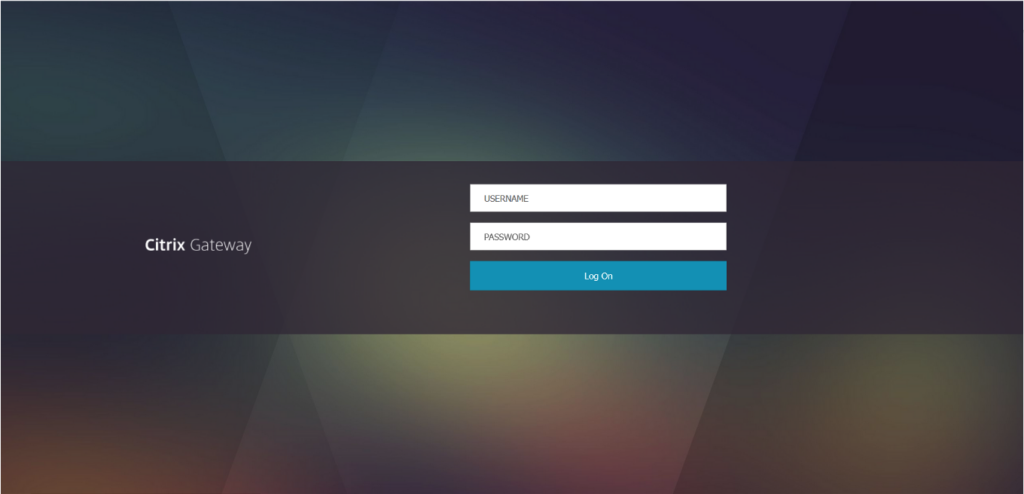
The page, after submitting credentials would then ask for a MFA token:
Great, now we had a target list and a malicious site (hosted in AWS to bypass any proxy filtering) and so were primed and ready to begin the vishing attack.
On our first call we managed to get a hold of someone I will refer to as “Mark”. We than ran through a simple script with him, explaining that we were swapping over Citrix environments and needed to test the database changeover had worked.
Mark was a great help throughout the assessment, but specifically on this call, he gave us a vital piece of information; the Citrix authentication was being handled by Microsoft single-sign-on (SSO) and that the page wasn’t sending him the SMS. We quickly got another consultant on the case to process the request (by submitting the credentials into their legitimate site) which would then force the SMS process to kick off.
We then called Mark back and, as we were already friendly with him, went through the same process. Mark then submitted the newly generated MFA token, an example of the output of which can be seen here:
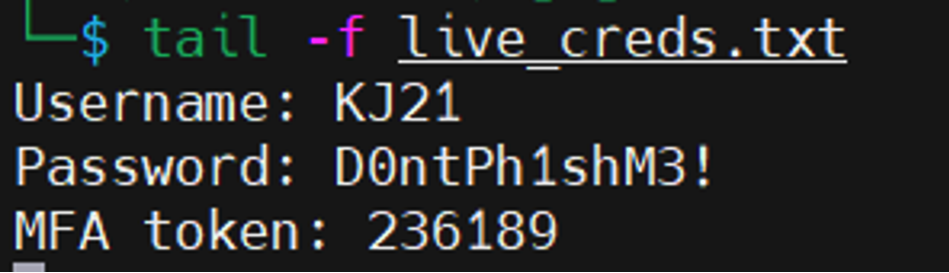
Mark was then forwarded straight to their legitimate landing page, and it appeared as though sign-in was successful; this was caused by their time-out periods being overly long.
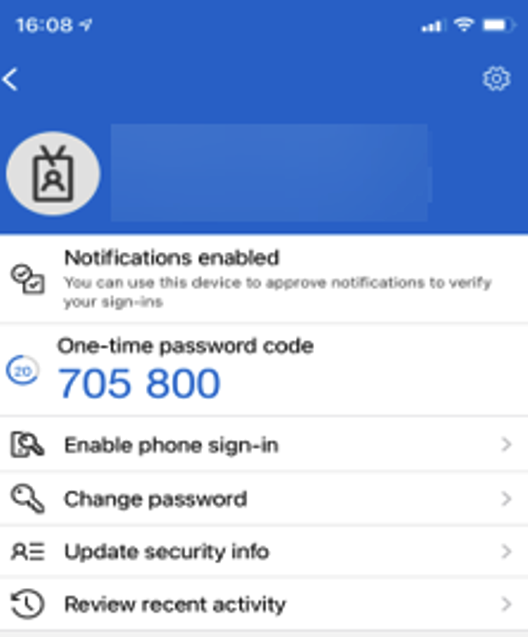
Perfect! So now we had Mark’s username, password, and an MFA token, but if we wanted to access the Citrix environment consistently, we would need multiple tokens. As it worked out, we had an easy solution to bypass this: the Microsoft Authentication application. We proceeded to log in to the app with Marks details:
This then reflected on the website, adding two new options to the user:
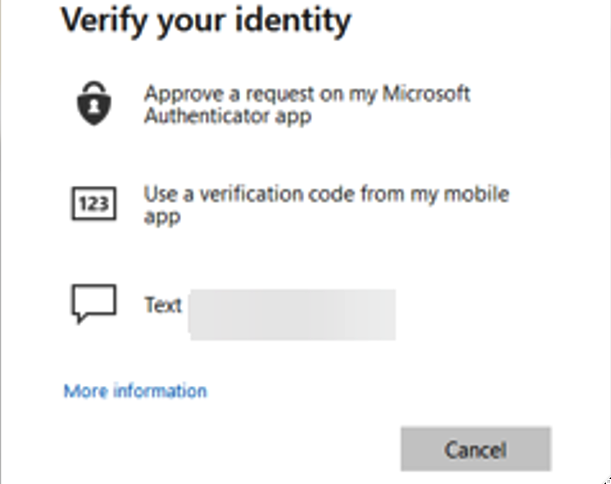
The two new options, “Approve a request on my Microsoft Authentication app” and “Use a verification code from my mobile app” were now the only indicators that the user had been compromised, however this did not lead to the campaign being discovered.
Finally, after a week of attempts, we had established a means of gaining complete, persistent, unauthorised access to the company’s internal network. From this point, we were then able to compromise another two accounts, totaling three before we decided that it was no longer going to provide us with an advantage and disclosing to the client.
In conclusion, we think there are two key recommendations not just for the company concerned but for anyone else who thinks they’ve covered the bases when it comes to phishing attacks. Firstly, we would advise that staff are trained in different forms of phishing attacks, such as email attacks and vocal attacks. Staff can quickly let their guard down when different channels are used. Secondly, we would also advise that any unmanaged devices are blocked, or at least have heavy restrictions placed upon them.
If you’d like to talk to us about how we can help test your resilience to a phishing attack, do contact us at contact@prisminfosec.com or call us on 01242 652 100.